Domino's Pizza
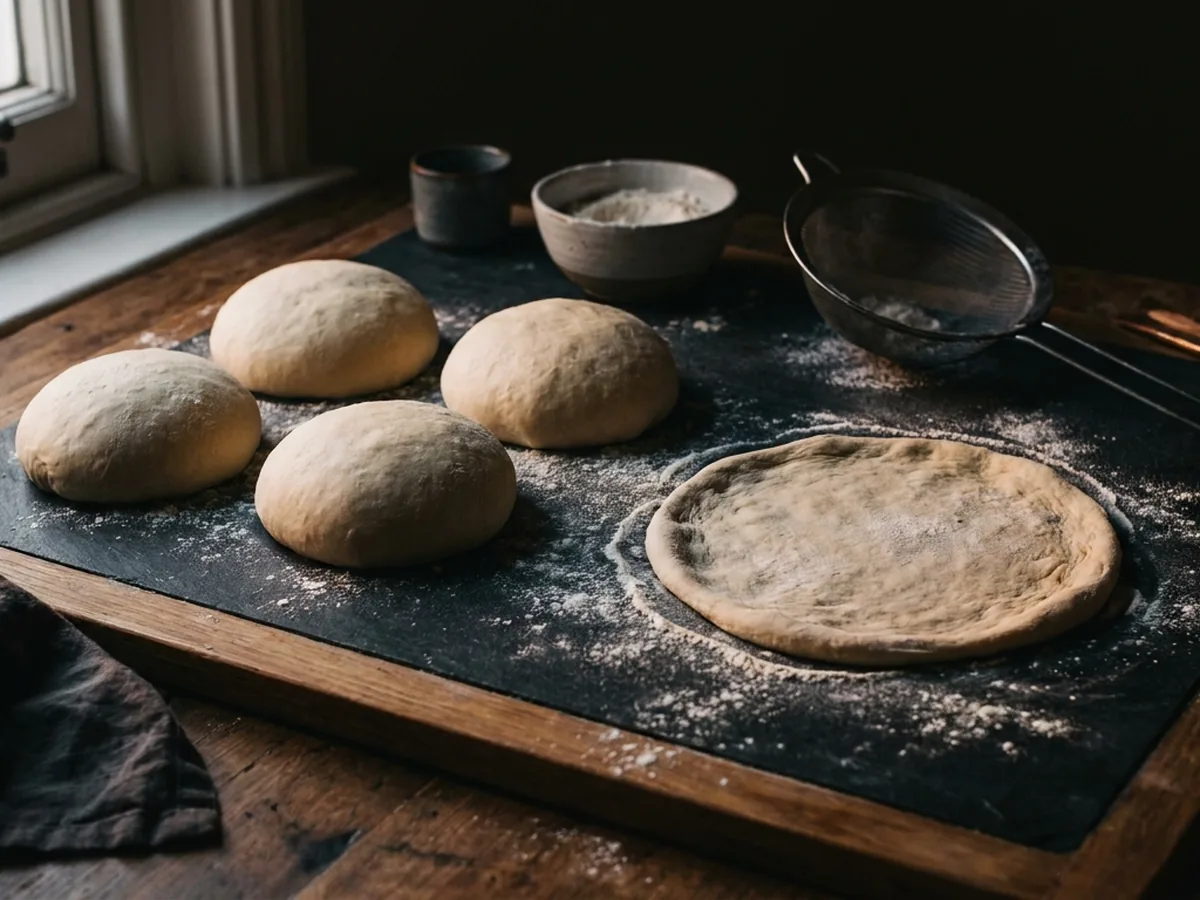
Domino's Pizza Dough Copycat Recipe
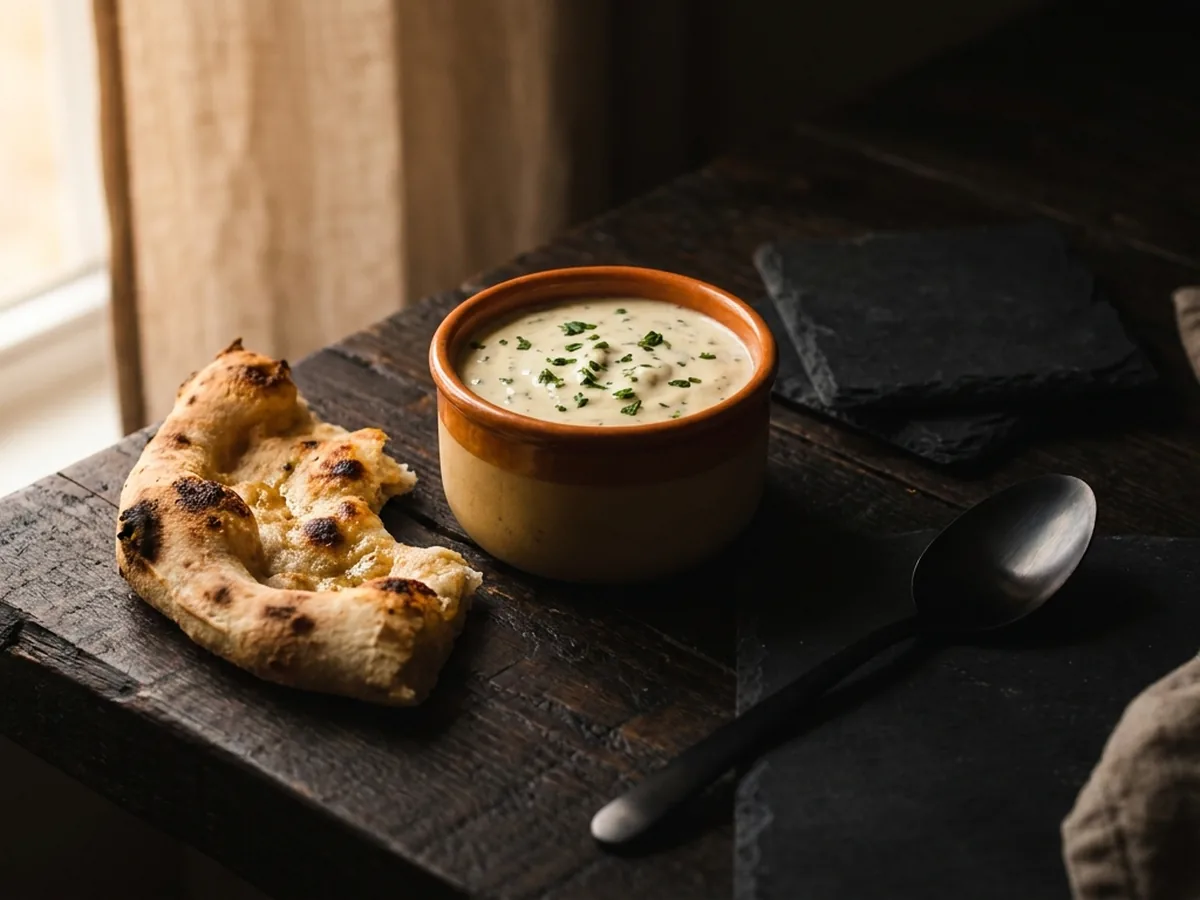
A pressed rather than tossed dough, cold-fermented for two days. Fifteen minutes of work, and the fridge does the rest.
 food.fast
Takeaway taste, kitchen prices
Oven-Baked Strippers That Still Come Out Crisp
Crisp breaded chicken strips without a pan of hot oil.
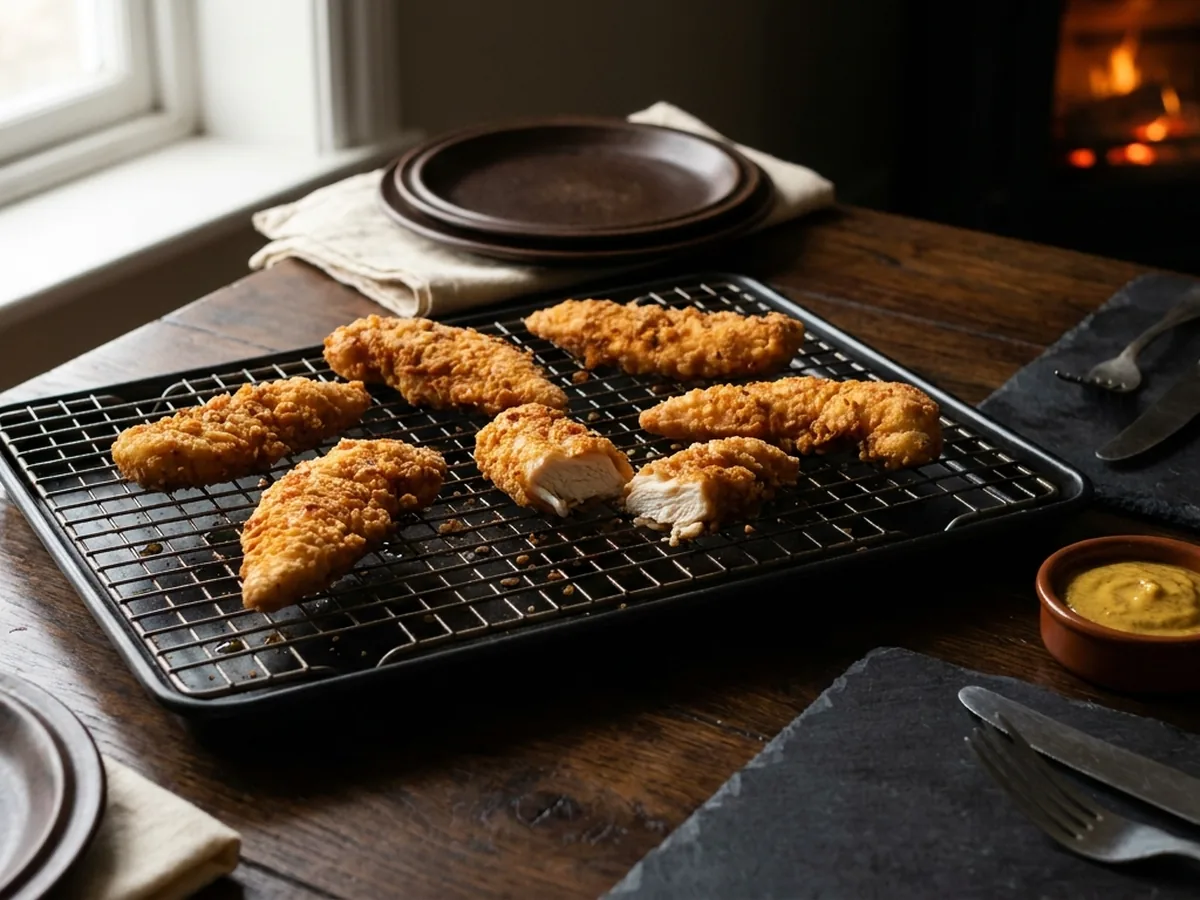
AI-generated illustration created for food.fast. It is not photographic evidence of a prepared batch.
Chain chicken strips are par-fried in a factory and finished in the shop, which is a two-stage process a home kitchen cannot copy directly. What it can copy is the result, and the route there is the oven rather than a fryer.
Two things make oven-baked breadcrumbs crisp rather than sandy. The crumb has to carry some fat before it goes in, because dry crumbs toast rather than fry. And the strips have to sit on a rack, so the underside is in moving hot air instead of steaming against metal.
The ten minute rest after breading is not optional either. It lets the coating hydrate and grip, which is the difference between a crust and a tray full of loose crumbs.
The method gives quantities, timings and observable cues rather than asking you to guess. The 3 cases in If it goes wrong explain likely causes and corrective action.
See the recipe verification standard · See how the cost is calculated
Breadcrumbs baked raw go pale and gritty, because there is nothing for them to fry in. Tossing them with oil before they touch the chicken solves it.
Two tablespoons of oil rubbed through 100 g of panko gives every crumb a film of fat. In the oven that fat does locally what a fryer does globally: it carries heat into the surface and browns it. The crumbs go golden, not beige.
You can toast them in a dry pan first instead, which is quicker to judge by eye but easier to burn.
A strip lying on a solid tray releases steam from its underside with nowhere for the steam to go. That side softens while the top crisps, and you get a strip that is crunchy on one face and soggy on the other.
On a wire rack, hot air circulates underneath and the moisture leaves. Both sides finish at roughly the same time and stay crisp for far longer on the plate.
If you have no rack, turn the strips once at the halfway point. It is not as good but it is much better than leaving them.
Toss the strips with the salt and leave them for ten minutes. Salt on the surface draws out a little moisture that then carries it back in, which seasons the meat rather than just the crust.
About 10 minMix the panko with the oil, garlic powder, paprika, onion powder and pepper, rubbing it through with your fingers until the crumbs look slightly damp rather than dry. This is what lets them brown.
About 3 minTake each strip through flour, then beaten egg, then the crumb, pressing the crumb on firmly rather than sprinkling it. Shake off excess flour before the egg or the coating slides off in the oven.
About 10 minLay them on the rack and leave them alone. The coating goes from dusty to tacky as it takes up moisture, and a tacky coating stays where it is put.
About 10 minTwenty minutes at 220 °C on a rack set over a tray. Probe the thickest strip for 74 °C. Do not turn them - the rack is doing that job for you.
About 20 minEach entry names a likely cause as well as a correction, so the advice remains useful when equipment, ingredients or batch size differ.
The recipes that go with this one, or that use what you have just made.
A pressed rather than tossed dough, cold-fermented for two days. Fifteen minutes of work, and the fridge does the rest.
The most requested copycat dip in Britain. Four minutes, six ingredients, and two decisions that most versions get wrong.